Pages

Showing posts with label interior design. Show all posts

Friday, August 26, 2016

Turn File Cabinets into a Desk!


One of the many challenges with moving to a new house is figuring out how to fit furniture in ways that are functional and aesthetically pleasing!  It's sort of like Tetris.  But with prettier colors and shapes.

We have a large, yet weirdly shaped open living room.  Our only furniture configuration leaves an empty corner in which I've placed a wingback chair that had no other place.  I wanted a functional, yet pretty spot to use as a mini home office/homework spot.  For cheap.  BUT.  I want it be pretty.  I want, I want, I want, I want.. Yikes!  Now we come to the WHOLE point of this post:


I found matching two-drawer file cabinets at Goodwill for $6 each! The price range for brand new file cabinets is $40-$150. That alone was a deal!  (Goodwill can be overpriced at times, but sometimes you get 'lucky'!) 

I bought six 1x4's (6 feet in length) from Lowe's and cut them 5 feet in length.  After lightly sanding down them edges and corners, I stained the planks with Minwax stain.  I used two light coats of the Classic Gray color, and then one light coat of the Honey color.  The mixture of the two stains gives an aged look instead of just stained.  Had I not spilled about 7/8ths of the Honey colored stain, this project literally would used a teeny tiny bit of stain!  I COULD have sealed them with wax or polyurethane, but we will NOT be using this surface for food so I left off that step!

Next, I already had 8x1-1/4" screws and 1x1-1/2" wood pieces that are cut in 17 inch lengths.  I pre-drilled the holes so the 1x1-1/2" wood wouldn't split and attached the connector pieces to the 1x4's.  I attached the connector pieces 24-3/4" apart.  I didn't use 1x1/2" cut to the actual depth of the table because I didn't want to be able to see the connector pieces poking out when you look at the front of the desk.

I did NOT attach the table to the file cabinets.  I placed the table portion on top of the cabinets with the connector pieces lying on the inside of the side of the cabinet.  For now, this works perfectly!  The table is heavy enough that it doesn't shift or shake.  


And there you have my easy, frugal solution to an empty corner of my living room!  My oldest is excited to have a special desk to use for homework, and I'm happy to have another surface and area to decorate! 

Here's the breakdown of the materials and cost:

2 Two-drawer file cabinets = $12
6 1x4's (6 feet each) - 6 x $3.72 each = $22.32
Sandpaper (already had it!) = $0
Stain (already had the Honey color) = $7.77
10 8x1-1/4" Screws (already had them!) = $0
1x1-1/2's cut into 17 in. (already had it!) = $0
Total = $42.09

Considering one of the purchases (the stain) will provide MANY more uses, this is a GREAT deal for a customized piece of furniture!

Thanks for reading, friends!!

Jess

Tuesday, May 6, 2014

{DIY} Chalk Paint & Tinted Wax


Y'all, this might be old news to you.  IF NOT, join in the fun of CHALK PAINT!  Annie Sloan has hit the DIY world by storm with her lovely paint-y ways... distressed furniture heaven...

BUT, I have yet to use hers... Shame on ME!  My DIY is totally a knock-off, and I can't tell you how it compares.  I just know I love the result and think it looks similar at least to what I've seen painted with Annie Sloan's paint.

I started out with 'Oops' or 'Mis-tinted' paint from Wal-Mart (also can be found at Home Depot and Lowe's).  I found a FANTASTIC soft, mustard-y yellow that looked even MORE fantastic at 50% off.  
Here's the chalk paint recipe I used:
1/2 cup baking soda
3 Tbsp. water
1 cup paint

Mix baking soda and water into a paste.  Add paint to paste until completely incorporated.  Use immediately OR let sit for a 'chalkier' texture.
(I've done both.. letting it sit does allow for a thicker first coat of paint)


-I used a small paint roller for the first coat on the large area, but a paint brush proved to be just as fast.  There's not need for the strokes to be absolutely perfect.  This is supposed to look OLD so the sloppier the better! 

-The second coat covered the rest of the table.  I didn't need an extra thick coat since I wanted the dark stain to show through.


-After the paint dried (it dries quickly!!), I lightly sanded all over the table but especially on the edges.  I made sure to allow the original stain show through on the places that would naturally be bumped and scraped.

-For tinted wax, I used Minwax Paste Finishing Wax (found at Home Depot) and Minwax PolyShades in Antique Walnut and Bombay Mahogany.  There really was no specific recipe here.  I just scraped out a good amount of wax into a tupperware bowl, poured in a little of the PolyShade, and mixed it until it was incorporated.  Using an old T-Shirt, towel, cheesecloth, or even one of Annie Sloan's special waxing brushes (which I hear are fantastic!), rub the tinted wax in small circles until the desired look is achieved. I suggest to test it out on a discreet corner of the table (or whatever you're painting) to see if you like the shade.  My first try was a little light so I just added the PolyShade until I was happy with the tint.  Also, rubbing in CLEAR wax BEFORE using the tinted wax prevents the color of the actual paint changing shades... instead, the wax just gets into the cracks and crevices.

If you WANT, you can finish it off with a coat of clear wax.

And.  THAT. Is how it's done.


I can't tell you how much I love my new table!!
I may or may not be obsessed with DIY chalk paint...
I may or may not have done a bunch of other projects because I loved it so much...
I may or may not have quite a few other projects up my sleeve...

What do you think??

Thanks so much for reading, friends!

-Jess

(Recipe for Chalk Paint recipe found HERE!)

Tuesday, April 22, 2014

'Your art is the best art of all the art...'

It the most heartfelt voice he could muster after seeing her watercolors in her art show, Roy Anderson tells Pam Beasley, "Your art is the best art of all the art."

Deep.

{I'm so sad if you don't know these people... that means you also don't know Michael Scott or Jim Halpert... My life is a little happier because of the humor they provide.  We're pretty close, you know.}

Friends, my life is lacking a little art...

If you saw my Living Room Tour, you may have noticed my very simple walls.  Though I've yet to tackle this problem, I wanted to share some of my inspiration for bringing a little LOVELY into my home:

This could EASILY be anything you wanted:  a tree, a child's profile, a unicorn. LOVE the pop of color.
source
 I LOVE CHALKBOARDS.  This chalkboard accent wall gives you the option to change the feel of your room depending on your mood!  For those of us that can't make decisions (ME!), this is FANTASTIC.
Source

I love the marquee letter!!  I would love to make one for my little guy's room! 
Source

Why not make a gallery wall??  Though there's not one large piece of art, the gold frames tie the gallery together.  I LOVE the ornate mirrors, and THE CHALKBOARD.  Obsessed.
Source

How fantastic is the geometric wall???  Top it off with a deer head AND a coral console... I'm in heaven.  Would you ever guess the wall was done with a SHARPIE?  I need one in my life.
Source
 One of my favorites:  Piece of plywood and paint.  Simple Concept, FANTASTIC result.
Source

Though I can't paint my wall with chalkboard paint OR draw on my wall with Sharpie (at least not while we're renting!), both ideas are concepts I can tweak for a rented home!  A chalkboard gallery wall?? Yes, please!

Ok, I'll stop with the chalkboards.

Are you inspired, too?? 

If you're NOT and you have the funds to purchase art, check out Hillary Butler {Fine Art} and         The Kibnit Creative.  Both ladies are SUPER talented and fantastic people.

DON'T FORGET, friends!

Enter our GIVEAWAY!!!!!  We're giving away some of our favorite beauty products to YOU for all of your love and support!!  We are so, so grateful for our bloggy friends!!!

To enter:  CLICK HERE!

Thursday, March 20, 2014

Updating "that thing" in the Bathroom


Who knew so much went into updating a home?

We are in the process of updating (painting, adding shelves, etc.) the boys bathroom/guest bathroom since it's the bathroom that gets the most use.  

And something had to be done with the toilet.

The seat and handle both appeared "dirty" just because the paint and finish were wearing off.

So we decided to replace both!

I replaced the handle (above) with an oil-rubbed bronze finished one.  The directions were super easy, and it took me less than 10 minutes.  (I think I got it from Home Depot.)


M replaced the toilet seat.  

I don't think the steps need much explaining.  

It was pretty straight-forwards as well, and the new seat is much easier to remove for cleaning!

And, I promise this will be the only toilet blogpost from me!

(Don't act like none of y'all have replaced or needed to replace these items before!)


Happy Thursday, y'all!

Rox

{ I just realized this post will go live on the blog on my 30th birthday!  I'm actually writing this a couple weeks early.  Toilet Post on my birthday?!  What better way to show how old I am.  Ha! }

Thursday, February 20, 2014

Front Door, Back Door Makeover


This VERY rarely happens.

And by 'this' I mean completing a project this quickly after blogging about it.

M surprised me this weekend with a TON of time spent on home projects.

And I couldn't have been happier!

The project I worked on was painting the inside of both the front and back doors black.  

And it did not nearly take as long as I expected.

We used Valspar outdoor paint and primer in one for the first time, and I was very impressed.  

2 coats (with about 2 hours of drying time in between) and I was done!

And I love the results.

I hope M doesn't read this, but I am tempted to paint all the interior doors black in our next house, I like it so much.


1.  Remove ridiculous pillow cases from back door window.

2.  Tape off window panes.

3.  (After first coat of paint.)

4.  After 2nd coat of paint (and glass frosting).


I used Young House Love's glass frosting technique like I mentioned in the last post.

It was fairly easy and is removable in case future owners don't like it!

(Oh, and if you look at the tile floor in the before and after pictures of the back door, you can get a sneak peak of some grout work that M was working on while I painted the doors.  Check back soon for a post on his hard work!)

Happy Thursday, y'all!

Rox


Thursday, February 6, 2014

Rox's Home Tour: Living Room


Hi Everyone!

Has it really been almost 2 months since our last post (well before Jess's on Tuesday)?

I can't believe it and am ready to dive right back in!

As Jess mentioned Tuesday, we've had a lot of changes over the past couple of months.

One of the biggest changes for us was that we moved back into our old house, downsizing a little over 700 square feet!

And I am happy to say, it hasn't been nearly as bad as I thought!  It's actually been fun to paint and decorate and figure out how this space can work for us!

And this house is full of new DIY projects.....who doesn't like that?

And I can't for the life of me find pictures of our old living room, but when I do I'll be sure to post a link so you can see how we used a lot of the old elements and changed them around a bit.


We purchased this white dresser off Craigslist right before we moved specifically to use as a media cabinet.  It was already painted and distressed too!


This picture is looking from the front of our house to the back.  You can catch a glimpse of our dining room at the back right.  


Our walls were painted a "greige" color I found from The Lettered Cottage.  (Fun fact: I got the color for our last house from her blog as well.  So far, I haven't been anything but happy!)

I have plans to paint our coffee table in the near future.  I'm realizing how closely the suitcase and coffee table match in this picture.  


This living room is a little cozier than the other house but I've actually enjoyed decorating this one better.

Our other home was just big enough that I never felt like our stuff never filled the space.  So, moving back, I feel like I have plenty to work with and even more I need to get rid of!

Happy Thursday, y'all!

I'm glad to be back!

Rox

Wednesday, August 28, 2013

I Dream of Coffee.

I keep hoping that I can share about my family's life change with pictures... BUT it's not gonna happen...

My family has MOVED!  My husband started seminary last week for Marriage and Family Therapy, and we are SO excited for our new adventure!  New school means new town, new friends, AND new home!!

I look forward to sharing pictures with you, but I have yet to find time (plus lighting, ROOM to move, etc...) to take them!

For now, you can join me in dreaming about all the ways I can set up my new home!

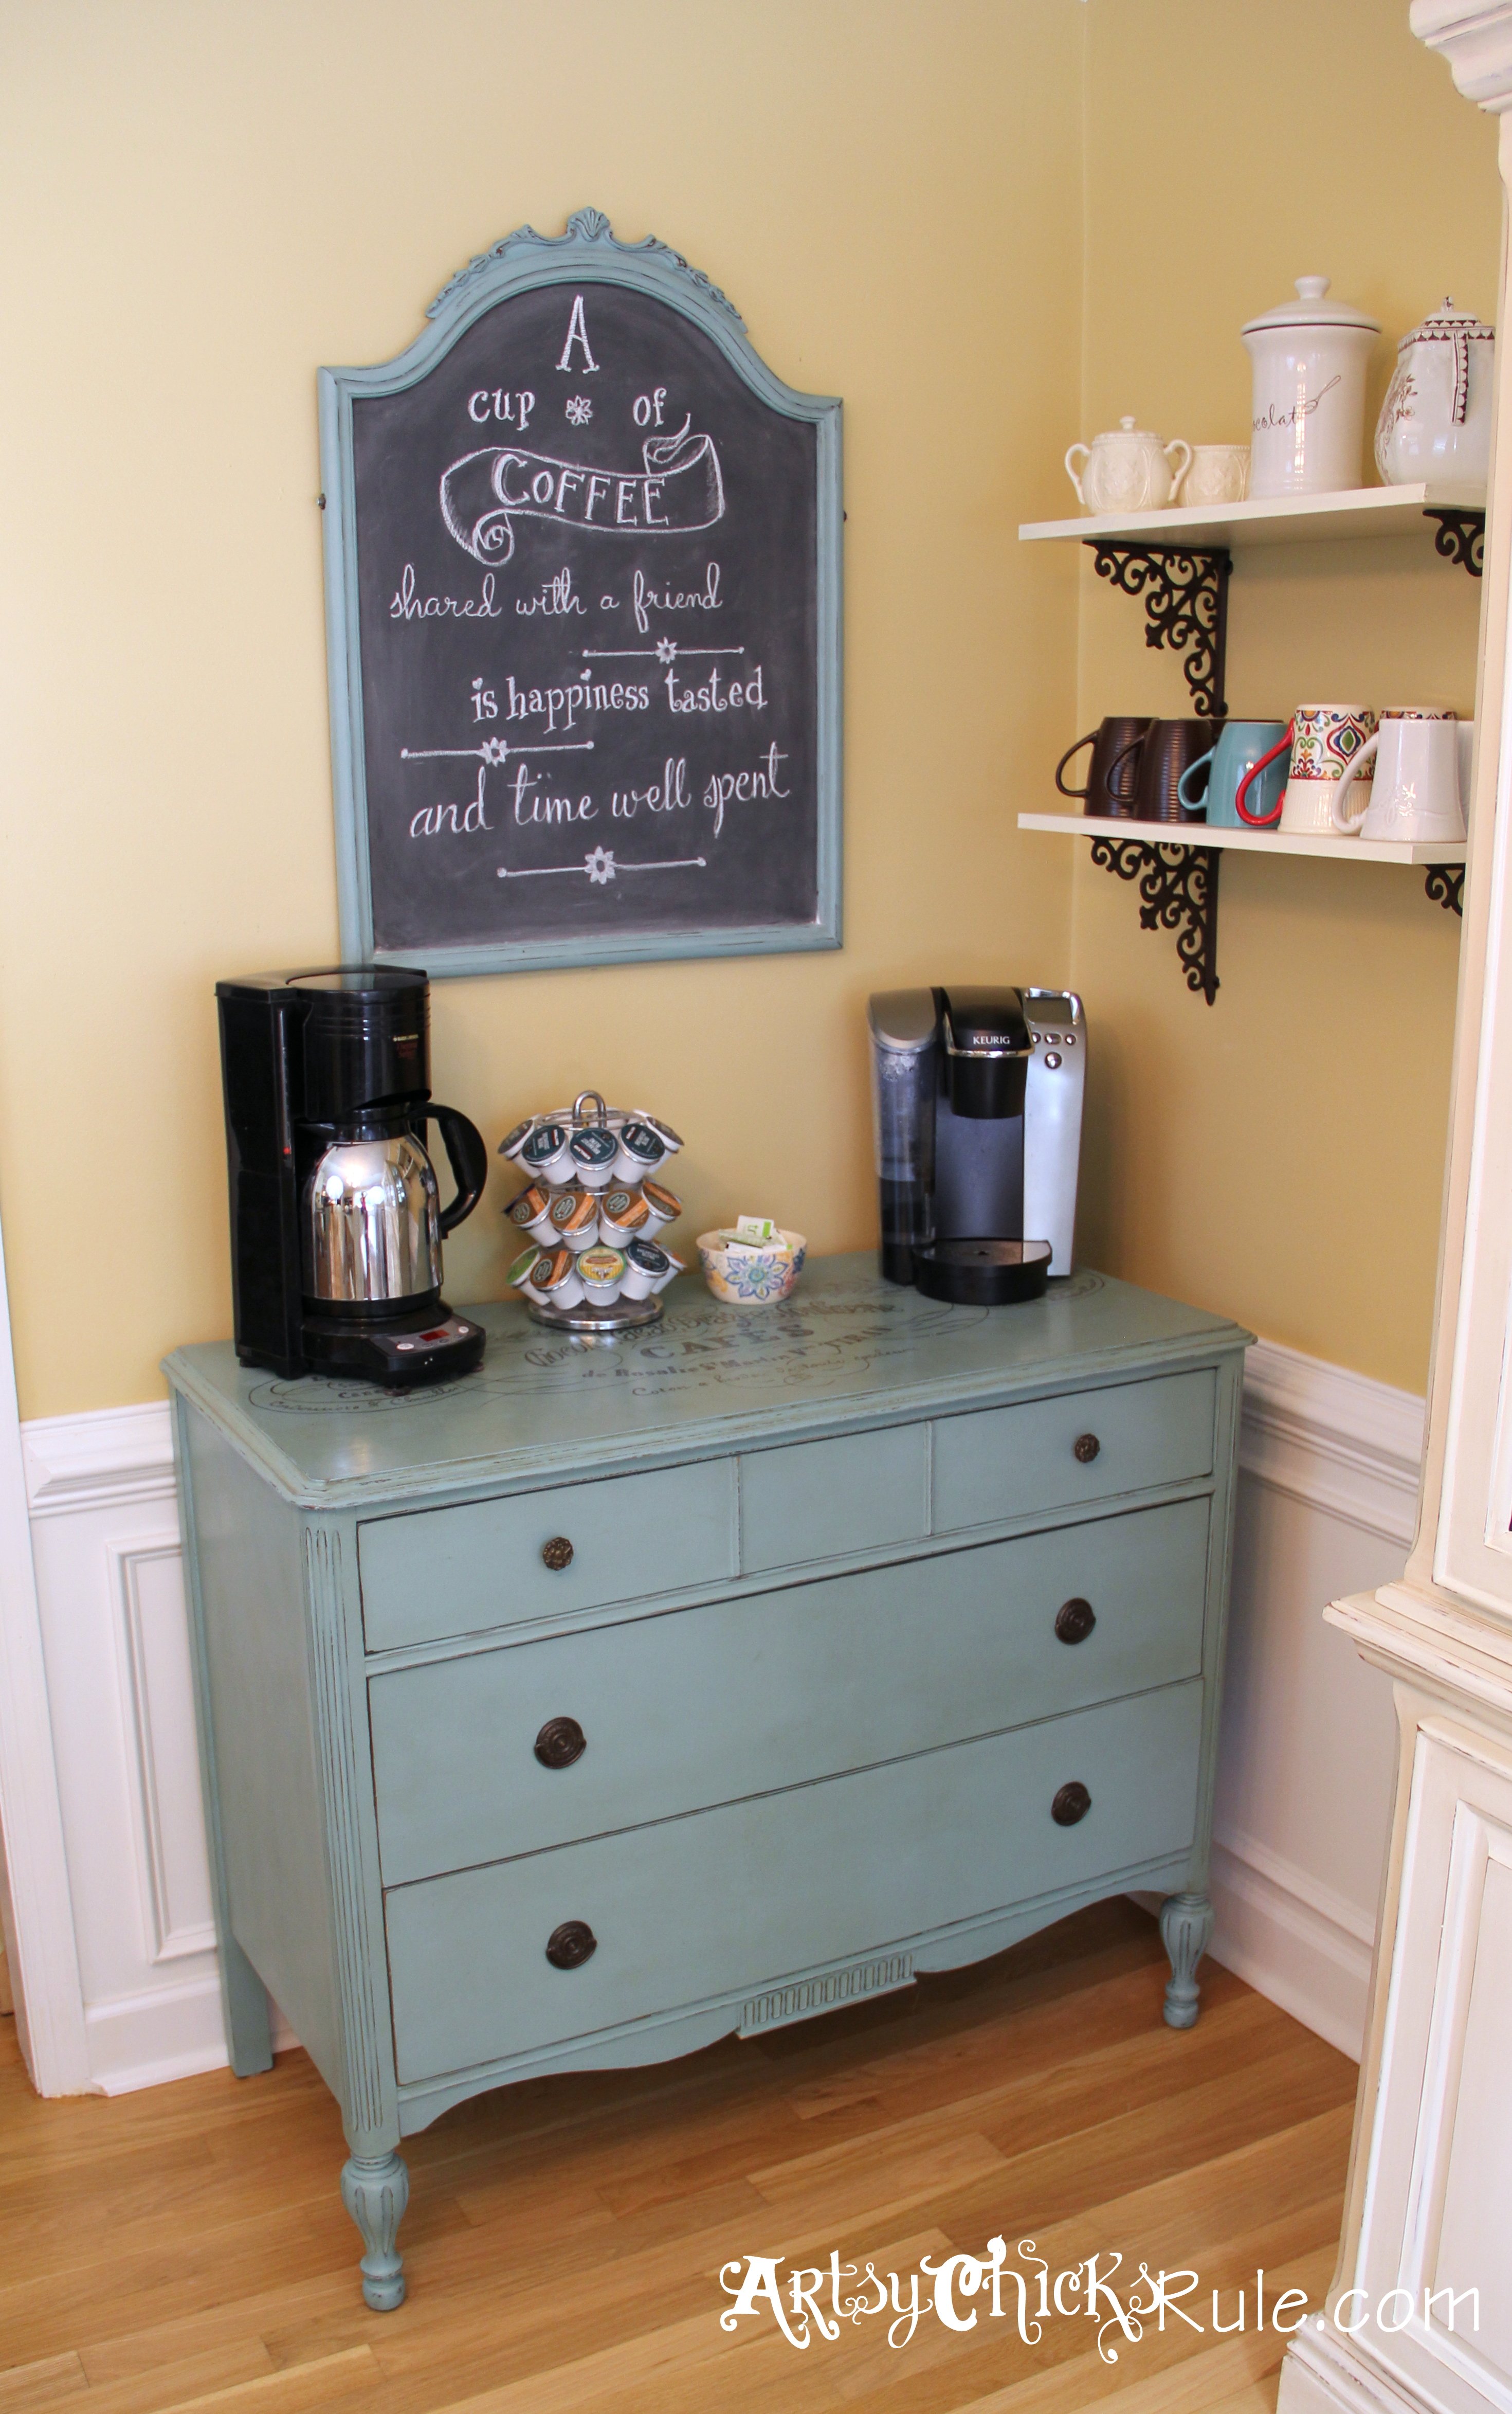
I'm very excited to have a dining room this time around, but I am now lacking storage in the kitchen...  I decided that a buffet/coffee bar would help with storage!

Here's some of my inspiration:
via Life More Lovely

COLOR!  Love the hanging mugs.  Baskets.  Shelf is a must!
via Inspired by Charm

I do like the clean look without mugs hanging down.. 
via Artsy Chicks Rule

I'm pretty sure I will have a chalkboard SOMEWHERE around my coffee bar.

I love the simplicity here.
via Caught in Grace

This may be my favorite look.  I love the white shelves against the white walls.  It gives it a very clean look.

I will be using a dresser as the buffet (possibly adding legs to the bottom like Rox did HERE), and a shelf or tow above the dresser!  Hopefully it will serve its purpose while adding visual interest at the same time!

I can't wait to work on it and share it with you!

What are your coffee bar must-haves?

Monday, July 29, 2013

Toilet Room Before and After


You don't have to tell me how classy it is to have the word 'toilet' in the title of my blog post.

Sometimes I need to spice it up, ya know?

Our master bathroom has a small toilet nook in the corner (probably like most master bathrooms).

Ours does not have a door (which is on my list of things to look for in our next house), and since painting the bathroom, this area has remained pretty bare.

We also don't have a toilet paper holder because it wouldn't stay in the wall, so a little storage/decorating space would be nice.

(Enter handyman hubby and the endless supply of pallet wood.)

Basically I just told him how far apart I wanted the shelves, and he did all the work.

The best type of project, if you ask me!

And for some reason, having wall-to-wall shelving (albeit walls that are very close together) makes that area look much bigger......and now I have a new space to decorate!

That's always exciting, even if it is above the toilet.

So, there you have it.....a blog post involving my toilet.  

Aren't you glad you stopped in today?

Happy Monday, y'all!

Rox

Monday, July 22, 2013

Master Bathroom Before and After


I started painting my master bathroom about 3 months ago and have FINALLY finished!

Woop! Woop!

As you can see (and I think I've moaned and complained about this before), the trim and doors in our entire house were painted the same butter yellow as all of the terrible builder's grade paint.  

I HATE it.

Do you see the whole buttery glow in the before picture?  

Yuck.

So, anytime a room is repainted, the trim has to be painted as well. 

Otherwise......yuck.

No paint looks good with buttery yellow trim to complement it.

(Are you getting the picture about how much I DESPISED it?)

PLUS, I heard that the Master Bath is a selling point for any house.

SO, something HAD to be done.

I used the same color that I used in the boys room and I love how much more calm and fresh it looks now!

I still have to decorate it a little bit, but that's the easy part!

Repainting a room really makes a world of difference.

Have you done any repainting lately?

Happy Monday, y'all!

Rox

Monday, June 24, 2013

Home Tour: Jess' House {Master Bedroom}


Although I'm happy with my bedroom right this moment, it's definitely in the 'not-quite-done' stage.  I don't necessarily have very specific ideas in mind for the 'finished product', but I don't just completely LOVE every tiny detail.

With that in mind...


I'm so grateful for our bedroom suit!  We have PLENTY of storage space with all of the drawers so we don't have to have random stuff piled all over the dresser.  (Notice that I said 'don't have to'... our room is usually the catch-all for normal days... if company comes over, I usually throw everything in our room and just close the door!)

Our super simple white quilt makes our bedroom very versatile... I feel like I can change things very easily without feeling like I want to buy brand new bedding!

Have y'all seen my pillow on Pinterest??  Chances are you've seen THIS tutorial before.  SO easy, so simple.  Mine's not as nice as the pin, but I used thicker material... it's seems like the thinner the material the better.

The wreath above my bed was made using faux pussy willow branches (Wal-Mart).  I stretched a wire hanger into a circle and just wrapped three branches around the circle.  This is one of the things I like ok in my room, but I would LOVE to hang a starburst mirror here instead.  I'd rather use my wreath on the front door!

(Excuse the the dark frame around the picture... no clue what happened!)

My beside tables get cluttered SO easily.  I decided that if I had trays on them I may keep them more organized.  Or the trays would just hide the junk I tend to throw on them...

I bought my cute coral lamp from a Facebook yardsale in my town.  Although I love the color, I'm pretty sure I want to paint it eventually..  I bought the gooseneck lamp from Goodwill WITHOUT a shade on it...  I thought I liked the look of it with the shade, but it's starting to just look out of place.  Any suggestions on what to use for a replacement shade? Or how to make one??

I just recently added the mirrors over my bedside table, and it's made a huge difference in the look of the room!  It's definitely made the room look a little bigger, and I LOVE the reflection of the lamps when they are on.  I loved the IDEA of the four mirrors paired together instead of one big one of the left side, but now that they are on the wall, I would like to add larger frames to them.


I haven't done much with my dresser... like I said, it's usually full of junk.  My lamps are boring (remember the lamps I mentioned in THIS post?), and it's just empty.. we'll see what happens there.

I absolutely LOVE my curtains!  You may remember my 'Choosing Fabric' post, and you can see the pattern close up.  The neutral colors make the pattern very, very subtle.

The chest of drawers (or better called 'Chester Drawers' here in the South) most recently held a large OLD school T.V.  That thing was a HUGE eyesore.. so for now, it houses a couple wedding photos of my boo and me. :)


Last, but not least, I have my photo wall... I made these burlap photo holders not too long after we moved in our house (about four years ago).  They've served us well.  I covered cardboard with burlap and added ribbon and photo corners.  I have yet to frame my nice prints... these are my cheap-o Wal-Mart prints and are not covered... my photographer was SOOO great y'all.  I still LOVE my pictures so much!

That's about it folks..

Check back to see more of my house! :)

Wednesday, June 12, 2013

Faux Mantle Shelf: Making and Decorating


Once upon a time, we bought a cute little house.

We loved our cute little house...

...but we couldn't figure out how to decorate above our couch.

We started out with a large mirror and a sconce on either side.  It worked, but we only put it up to fill up wall space.  I decided then to make a shelf to go above the couch.  I used a 1x8 plank of wood and two shelf supports (ready made from Home Depot), stained them in espresso, hung the supports on the wall, and laid the plank on top.

I filled the space beneath with an old window that Rox gave me (I'm pretty sure it was a sweet score on Craigslist!), plus emroidery hoop framed fabric on either side.  The window luckily had the perfect chippy paint finish so I didn't mess with it.  The hoops were brightly colored plastic (from Wal-Mart) so I spray-painted them using Rustoelum's Heirloom White.  The fabric was leftover from a skirt that I made a couple years ago, and I thought the greens were a perfect pop of color for the wall.

(Do you recognize the little garland on the window??  Check out my post HERE to see how it's made!)


Decorating the shelf was really fun:

The decorating began around the large chalkboard which is an old whiteboard that our church was throwing away.  I flipped it over, painted the board with chalkboard spray paint (Wal-Mart), and spray painted the edges using some shade of white.  I LOVE being able to change the feel of the shelf by drawing a frame on the board and changing the wording. (During Christmas-time, I hung a green wreath over the board with the word 'joy' peeking through!)

The other decor is a random collection of things I just had, made, or bought for VERY cheap:
picture frame (from Good-Will, spray painted)
keys (thrifted by my mom!)
candle sticks and holders (Dollar Tree, spray painted using Rustoleum's Silver)
vase (Good-Will)
sticks/branches (Wal-Mart, a long time ago!)
white pear (Kroger, after Thanksgiving sale)
twine canister (old coffee can covered with jute rope)
wooden letter (handmade, spray painted using Krylon's Jade)
embroidery hoop (Wal-Mart, spray painted using Rustoleum's Heirloom White)
fabric (JoAnn's)
antlers (These babies are the real deal! My hubs actually uses them during the hunting season so I get to use them to decorate as long as he doesn't need them!)
squirrel (Good-Will, spray painted using Rustoleum's Heirloom White)


I finally love my living room decor!  The shelf makes it SO easy to re-decorate without putting TONS of holes in the wall (THIS makes the hubby happy!).

Do you have a mantle or faux mantle??  How do you decorate it?

Thanks for reading, folks!

Monday, May 20, 2013

Home Tour { Rox's Boys' Room }


I have 2 boys, 14 months apart, ages 3 1/2 and 4 1/2.  They've shared a room since my youngest was about 6 months old.  Although at times we question whether it's a good idea to have them in the same room (when they are playing at night or waking each other up), I can't imagine it any other way.  For the most part, they do really well together and it's been fun decorating and creating a room for 2.  

We don't have a play room, so all the boys toys are stored out on their shelves or in their closets.  I try to keep a lot of it put away so that it isn't a huge mess every time they play in their room.  (You can view their closet organization project I did a while back here.  Although, I must confess -- anyone else sing the Britney Spears song in their head while reading 'I must confess'?  I KNOW it's not just me -- it is not as clean now)  I've also figured out that if they don't have daily access to all of their toys, we can keep some stashed away and pull them out when we need something different to play with and it's almost as good as having a brand new toy!

{ Side note: Since my boys have seemed to master sleeping through the night pull-up free for month or so AND I have a child who is very tall for his age, we will be upgrading to twin beds very soon.  SO, we will be selling these handmade beds (sans mattresses) as well as the bedding (which is in great shape) very soon.  So, if you are interested in purchasing either, keep checking back!}

With the new beds and bedding I plan on changing up the decor too.  Am I the only one who can't just leave a room the way it is for very long?  

And in case you haven't noticed, Jess and I have very similar tastes in decor, especially in boys rooms.   We have the same greens, grays, browns and blues.  Check out her boy's room post here.

What are you favorite colors for boys' rooms?  What are some ways I can update their room to grow with them into school age?

Rox

Wednesday, May 15, 2013

Home Tour { Jess' House: Girl's Nursery }


My baby girl's room was SO fun to decorate.  I had so much trouble figuring out my little guy's room... when it was time to decorate with pink, I was like a kid in a candy store.  (Or just like I would be in a candy store. I. LOVE. SUGAR.)

My baby girl isn't really a baby anymore, and her nursery won't really be a nursery much longer.  P-man was already in a toddler bed for 6 months at her age (which was pretty early, but it worked for him...)!  So this is partly to document her nursery while it lasts! *Tear*

Follow me into my little gal's nursery:

I love the sweet watercolor prints I see on Etsy.  The three on the left were my attempt to own some "artwork" without paying $20 or more per print.  It's OBVIOUSLY not profesh... but it fills up wall space for now!   I used a nail through the back piece of each clothespin to secure them to the wall.

I'm pretty sure the crosses were gifts to Parker when he was a baby.  I just spray painted each of them.

The garland is just a strip of unbleached muslin with knots tied in it.  The fabric birds were made using THIS tutorial.  (I used to have 4 up there... my little guy decided he needed to use them for his own versin of Angry Birds.)

I found the cute little play crib at Goodwill for $7.  Isn't it cute??  Baby girl LOVES to lay her dollies down for a nap.


A family was getting rid of the crib and CUSTOM-MADE crib bedding and offered it to my mother-in-law. She passed it on to us, and we absolutely LOVE it.  We would have had to pay A LOT for both!

The 'rug' is just a pillow sham from Goodwill. Improvise.

My mom is an AWESOME thrifter.  I mentioned one time that I'd love to find some cool old suitcases to decorate with.  The next time I saw her she found THREE for me! 

The sweet crown and veil was made for me by my Grams for a wedding I was in when I was little.  I love special things like that!  The baptism dress I made for my girl using multiple tutorials all smashed together.  I literally couldn't tell you how I made it now if you asked me!

We have two matching side tables and a matching coffee table for our living room, but we only have room for one side table.  Baby girl's room was the perfect spot for the extra one! 


This collage was SO fun to put together.  All the frames are thrifted and spray painted using Rustoleum's Heirloom White.

1, 4, & 7 were paper dolls that my sisters and I had when we were little.

2 & 8 are unbleached muslin framed in embroidery hoops with handmade flowers.

3 & 6 were cute pictures found in an issue of Real Simple magazine (can't remember which one!).  The pictures were so great and perfect for the nursery that I just had to frame them!

5  is just four wooden plaques (thrifted by my mom!) painted with acrylic paint.  I'm pretty sure I just mixed a bunch of colors together until I liked it! :)


This room obviously couldn't have been decorated without my mom and mother-in-law!  The Strawberry Shortcake (one of my FAVORITES when I was little) records were thrifted by my mom, and the dresser was painted by and given to us by my mother-in-law! 

The glider is probably my least favorite thing in this room.  I begged my hubby for it when my little guy was born, and I can count on two hands the number of times I've used it with BOTH kids.  I just prefer snuggling on the couch instead of rocking!  It's a really nice glider for the price though!

You may remember the tutorial for the quilt found HERE.  If not, check it out!!

The large mirror was a wedding gift that we spray painted using Rustoleum's Heirloom White.

The tissue paper flowers are one of my FAVORITE things about this room.  I originally made them as decorations for baby girl's first birthday (using THIS tutorial), BUT I loved them way too much to throw them away or put them in a box.  I feel like they found a good home for now above the mirror!


That's about it!  I left out little details here and there just to avoid a super long post!

If I skipped anything that you'd like to see closer or hear more details about, leave us a comment or e-mail us at ofdwellinganddress@gmail.com.

Thanks for reading!

Wednesday, May 8, 2013

Guest Bedroom Update (Rox)


Our guest bedroom/soon-to-be nursery has been the catch-all junk room since we moved into our home almost 4 years ago.  And FINALLY, with the help of mystery sister #3 (who WILL post soon, I'm certain) last Fall, we finally got a fresh coat of paint on the walls and trim.  

By the way, who decided it was a good idea for the trim of a new-ish construction house to be painted the same butter yellow as the builder's grade paint on the walls?

Seriously.

In every. single. square. inch. of. the. entire. house.

Terrible idea.

Especially because painting trim takes FOREVER.

End rant.

And back to the guest room.

So, we used leftover paint from our Master Bedroom.  The color is Sherwin Williams Rain that we had matched in Home Depot's Behr paint.  And it was 100% copied from my second mom's home.  This was the first blue I have ever liked on the walls, and with its gray undertones, it creates such a calming atmosphere.  Our Master Bedroom has been painted this color for about 3 1/2 years now, and I still love it.

I always forget what a difference a new paint job can do to a room.  For one thing, it gives it a fresh clean slate and helps jumpstart the decorating process and finishing up the room.  

This room is far from complete, but I love seeing how a room can be transformed, so I thought you might too!

Paint: Sherwin Williams Rain matched in Behr \\ Pillow: TJ Maxx clearance \\ Quilt: Target clearance

The main things I have done are purchase a couple new accessories.  I picked up the quilt first from Target and then the pillow for from TJ Maxx.  Both were on clearance for over 50% off and ones that I had been eyeing for some time.  So, if you see something you really like, hold out for a little while and usually you can catch it on sale!


These are the items I had for the room.  And actually I bought the curtains first.  

And here's the story.

My husband and I recently went to Atlanta for a conference and the one thing I wanted to do while we were there was go to the infamous Ikea.

And being the loving husband that he is, he obliged.

(I'm sure he was still being loving, but let me be honest.  He was probably sick and tired of hearing me meantion, "I really want to go to Ikea.  Wouldn't it be cool to check out Ikea?  I've heard so much about Ikea and have been dying to visit.  If I had one wish in all the world it would be to see Ikea first hand.  Ikea.  Ikea.  Ikea.  IIIIKKKKEEEEAAAA."  I don't blame the poor guy for doing anything it took so that the word "Ikea" would never be uttered from my lips again.)

So, Ikea was amazing.

And overwhelming.

But amazing.

And I spotted these curtains about half way through the store and thought they would fit nicely in my carry-on bag my husband's carryon bag on the way home.  Because, who am I kidding? There is NEVER any room in mine.  And I thought they would go perfectly with our paint color.  So, I bought 2 pairs.  

I hung one pair up in the guest room.  The other stayed in the package.

And here's another thing about these curtains.  I don't have anything else in the color red in my entire house, so they kind of feel out of place.  And secondly, I am not naturally drawn to the color red, so I couldn't ever find any accessories (pillows, rugs, lamps, etc.) that I really liked.  So, as you can see, they don't go with the other things I have bought for the room since then (see picture above).

But, I do LOVE the pattern and if I could make them work in my house, I would. 

And I'm SURE one of you could totally make them look amazing if your house.

{ And if you happen to need more than 2 pairs of these curtains, they are currently sold on Ikea's website, for $14.99 a pair but with a shipping cost of $11.00, making them $25.99 a pair.  So, you are definitely getting a deal here, but they are still available if you need more or don't win these!  And they can give you a few more details about the curtains. }

So, with that being said, I am selling them to the first reader that emails us at ofDwellingandDress@gmail.com. 

2 pairs available (each panel measures 57" x  98"):  1 opened package $18 - FREE SHIPPING //
1 New in package $20 - FREE SHIPPING // Both Pairs: $35 - FREE SHIPPING

I will respond to your email and let you know you've won the items and ship them ASAP.  Again, first come, first serve.  If you do not receive an email back, they have already been claimed.  I will bill you through PayPal as soon as I hear from you!

Have you done any redecorating lately?  What colors are you naturally drawn to?

Rox

Monday, April 29, 2013

Choosing Fabric


Choosing & coordinating fabric can be WAY too overwhelming!  I can't tell you how many times I have been ready to buy fabric for curtains (as we currently have NONE in our house...) before I chicken out.. I'm HORRIBLE at making decisions.. 

I finally took the plunge after gaining a little inspiration from some of my favorite home decor blogs and receiving a little birthday money!  (How lame... who spends birthday money on FABRIC??  And I was absolutely THRILLED about it... PLEASE tell me I'm not the only one!!)

Fabric.com proved to have a MASSIVE selection (making the choice so hard!) so I perused their website for at least 4 days before making my decision.  Plus, they always offer GREAT sales and free shipping over a certain amount.

Master Bedroom:

Sidenote:  My bedroom currently is the most boring place in the world... plain, undecorated, and drab... hopefully I can spruce it up a little with these prints!

1.  ZigZag in Village Blue/Natural by Premier Prints - I want a calming effect when I walk in my room... although, I also want a little interest... how about some light blue and zigzags!  I found THIS tutorial for a DIY rug that I'm dying to try with this fabric.  I'm excited give it a go!

2.  Java Ikat Driftwood by Magnolia Home Fashions - Although I only want to use this fabric for a couple pillows for my bed, I used this print as the base for my other two coordinating fabrics.  I LOVE, LOVE, LOVE the abstractedness (is that even a word?) and symmetry together in one print!!

3.  Towers in Onyx/Grey/Natural by Premier Prints  - Love this pattern.  I'm hoping the print is not too busy for curtains, but that's my plan for now.  I think the calm, neutral colors tone down the boldness of the print.


For the little guy's room:  (see his room tour HERE)

1.  Air Travel in Felix/Natural by Premier Prints - If you read/saw the room tour post, I mentioned wanting curtains for my P-man's room.  I knew I wanted a neutral-ish curtain since the bedspreads and bookshelf/toybox are bright green, and we have other bright colors on the walls.  I didn't want to overdo it with bold print and colors.  The frugal side of me thought I could easily re-use the fabric for pillows either in his room or in my living room!  I also didn't think the print was too gender or age specific.

2.  SeeSaw in Felix Blue/Natural by Premier Prints - I'm pretty sure I wanted to use this fabric for something in my little guy's room as soon as I saw it!  I immediately said no to curtains because of the bold and crazy, but I want to use the tutorial I mentioned above for a DIY rug... now I can't stop picturing the SeeSaw print as a rug in P's room!!  Can't wait to tackle that project!

One of the cool things about Fabric.com is their "Add to Design Wall" option.  You can add any 'swatch' of fabric to the design wall so you can see all your prints right next too each other.  No guess work on coordinating colors!  And if choosing coordinating fabrics is not your strong suit, they give you coordinating suggestions below each fabric option when you click on it!  Yay for making things easy!  If you can't find something that goes with a fabric you like, they add new prints ALL the time.  I found their prices to be very affordable with ENDLESS options.  After googling 'fabric.com promo codes' I found a 20% code that worked!  I'm pretty sure they offer discounts quite a bit so it wouldn't hurt to wait for a coupon offer!

Now I can't wait to show y'all my finished projects... check back with us to see the finished results and other fun projects!

If you want to stay connected with us, Follow us through BlogLovin' and Like us on Facebook!

If you have any questions, don't hesitate leave us a comment or email us OfDwellingandDress@gmail.com.